Have you ever been in one of those public restrooms where the stall door is so close to the toilet that you have to practically lean toward the back wall in order to get it closed? Well, imagine what that type of restroom design would mean for someone with physical disabilities. These poorly designed public restrooms can be enough to make that person decide never to bring their business there again.
Why? Because we all deserve an opportunity to use a public restroom that meets our needs. And for those in wheelchairs or with other physical disabilities, it means a bit more thought needs to go into ADA compliance in restroom design.
In this article, we’ll share what we have found to be the common pitfalls in ADA restroom design. From fixture placement to no room to maneuver and more, these pitfalls affect not only those with disabilities but also the physically abled.


The Top 7 Public Restroom Pitfalls that Don’t Meet ADA Compliance
Here’s the thing. Designing an ADA-compliant restroom doesn’t have to be challenging. The Americans with Disabilities Act provides clear guidelines, and most of it is common sense. But, prior to 1990, most designers and developers weren’t thinking about wheelchair accessibility, those with canes, or those who might not be able to reach otherwise standard fixture heights. And still today, some buildings haven’t had the opportunity to redesign their bathrooms to become ADA-compliant. But, failing to do so comes with some pretty big risks. The biggest one is your risk of losing customers. Unhappy customers can share their frustration in big ways that we never could have imagined ten or so years ago. And beyond unhappy customers, you could face some financial penalties—and in a big way. Fines for public bathrooms that fail to comply with ADA requirements can cost you $55,000 to $75,000. And if you are caught again? Your business could need to come up with another $150,000 per infraction. So, if you are renovating an existing public bathroom or you are a developer, designer, or architect working on plans for a new facility, now is the time to understand the common ADA restroom design pitfalls and how to avoid them.1. Incorrect Fixture Placement
Correct placement of fixtures is a non-negotiable in ADA-compliant restroom design to provide accessibility for all users. Toilets should be installed with their centerline 16–18 inches from the side wall or partition. The seat height of the toilet must be between 17–19 inches from the floor, accommodating transfer from wheelchairs with greater ease. And, flush controls must be located on the open side of the toilet, allowing for easier access. Urinals must be wall-hung and at least 13.5 inches deep, with the rim not exceeding 17 inches from the floor.
2. Non-compliant Sink Heights
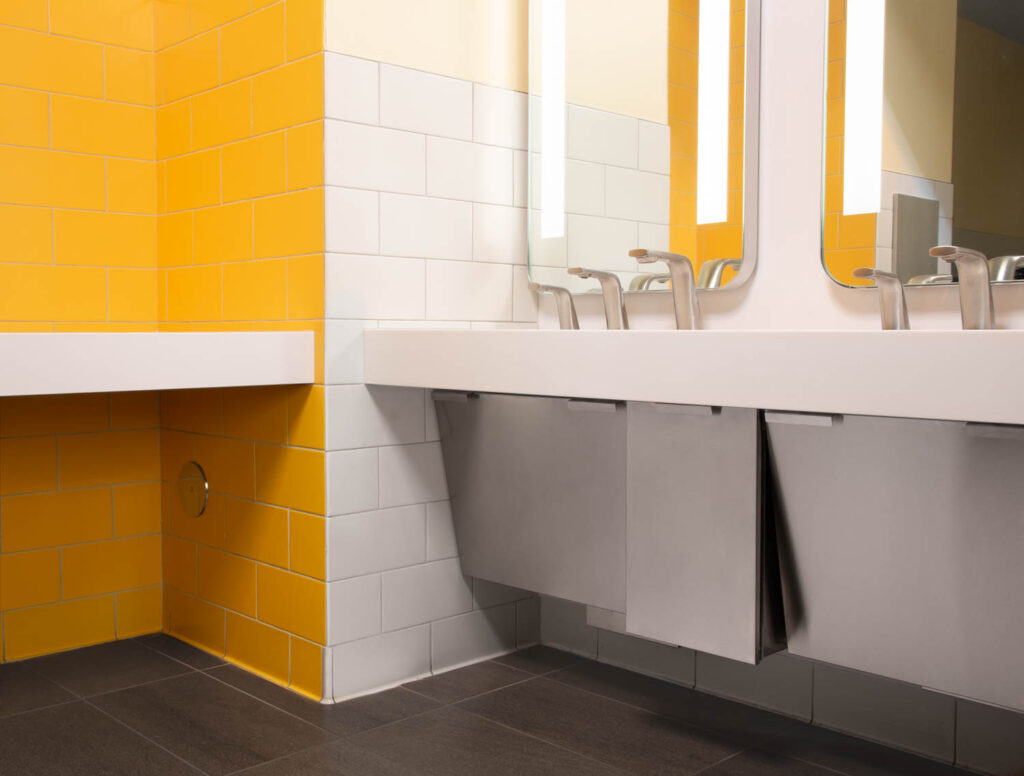
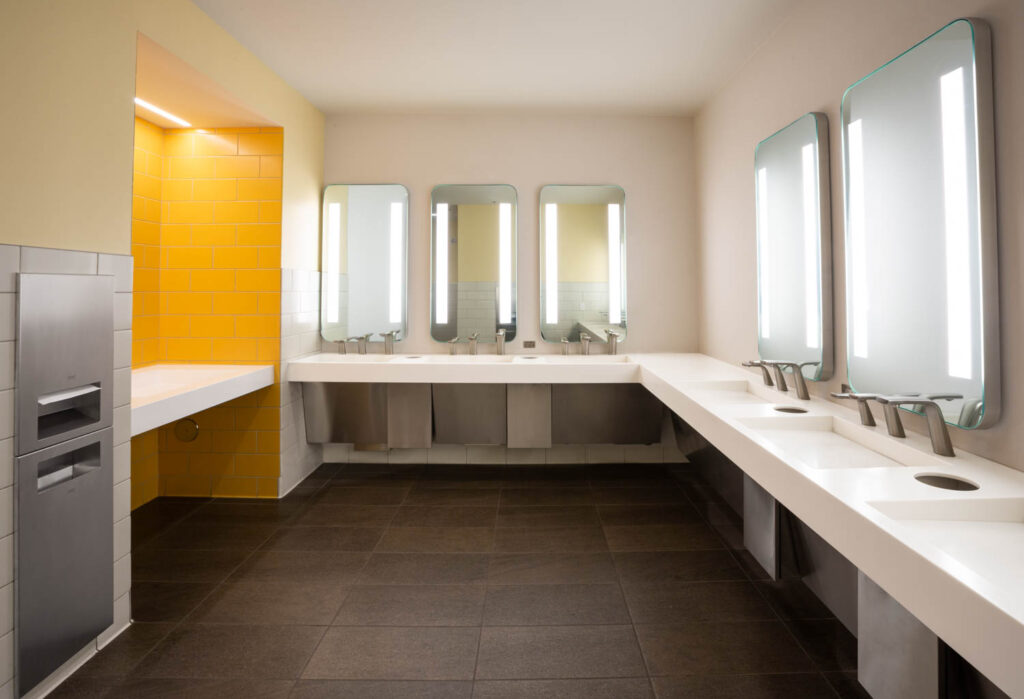
Sinks that are set too high or too low can pose significant challenges for individuals in wheelchairs. ADA-compliant sinks should not exceed 34 inches in height from the floor, allowing individuals in wheelchairs to use them comfortably. There must be at least 27 inches of knee clearance under the sink, which provides ample space for wheelchair footrests. The front edge of the sink should also be no higher than 5 inches from the floor to make sure it is within easy reach for all users. Meeting these height requirements helps prevent accessibility issues and makes the restroom usable for people with varying physical needs.
3. Inadequate Maneuvering Space
Adequate maneuvering space is a priority for wheelchair users to independently enter, exit, and utilize restroom facilities without assistance. This includes providing enough space around fixtures for a 360-degree turn and making sure that the path to each fixture is unobstructed.4. Insufficient Door Width and Clear Opening
Remember our example earlier in the article about those bathroom stall doors? Those doors aren’t the only ones of consequence. Doorways that help you get in and out of the bathroom that are too narrow can prevent access for individuals using wheelchairs or walkers. ADA guidelines require doors to have a minimum width of 32 inches when open at 90 degrees. Additionally, the threshold must be level to allow for smooth passage, and handles should be easy to grab and operate.5. Inaccessible Accessories and Controls
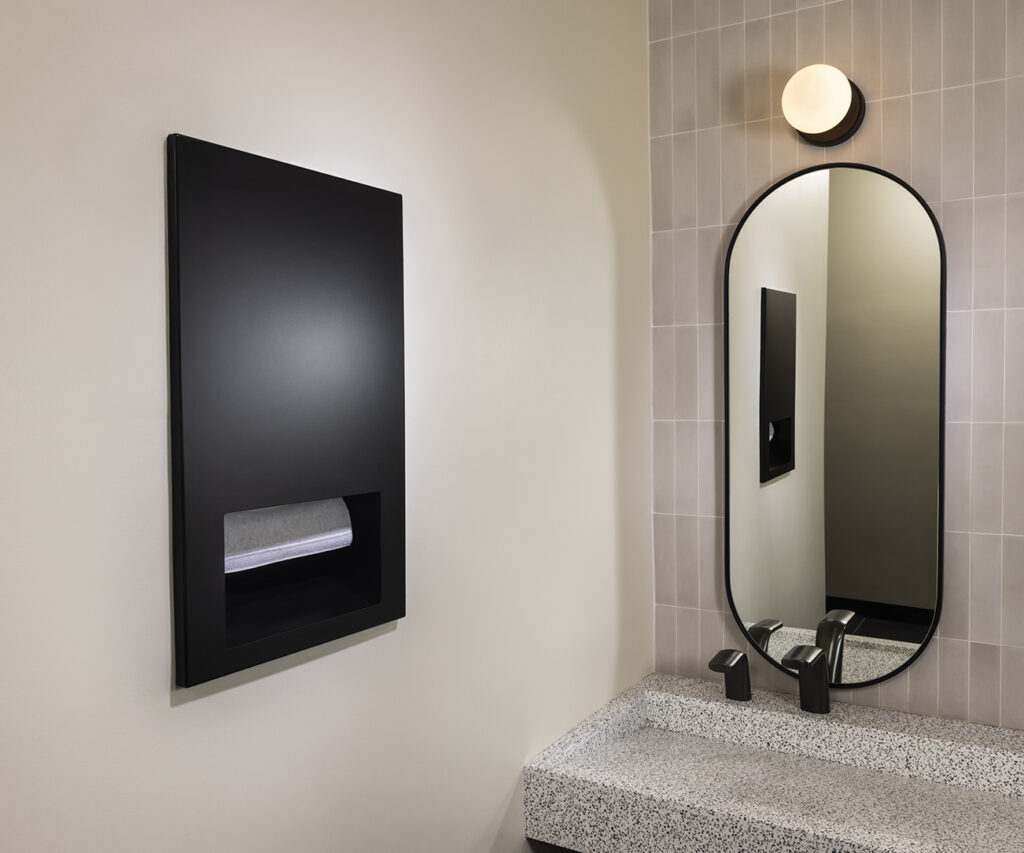
Proper placement of accessories and controls within ADA restrooms is a must for full usability. Hand dryers should be mounted between 40 and 48 inches from the floor and require a clear floor space of 30 inches by 48 inches in front of them to accommodate a forward approach. ADA-compliant mirrors should be installed with the top edge not exceeding 74 inches from the floor, making them accessible for both individuals in wheelchairs and ambulatory. Additionally, coat hooks and shelves must be positioned no higher than 48 inches above the floor and should not protrude more than 4 inches from the wall to avoid becoming a hazard or an obstacle.
6. Poorly Positioned Grab Bars
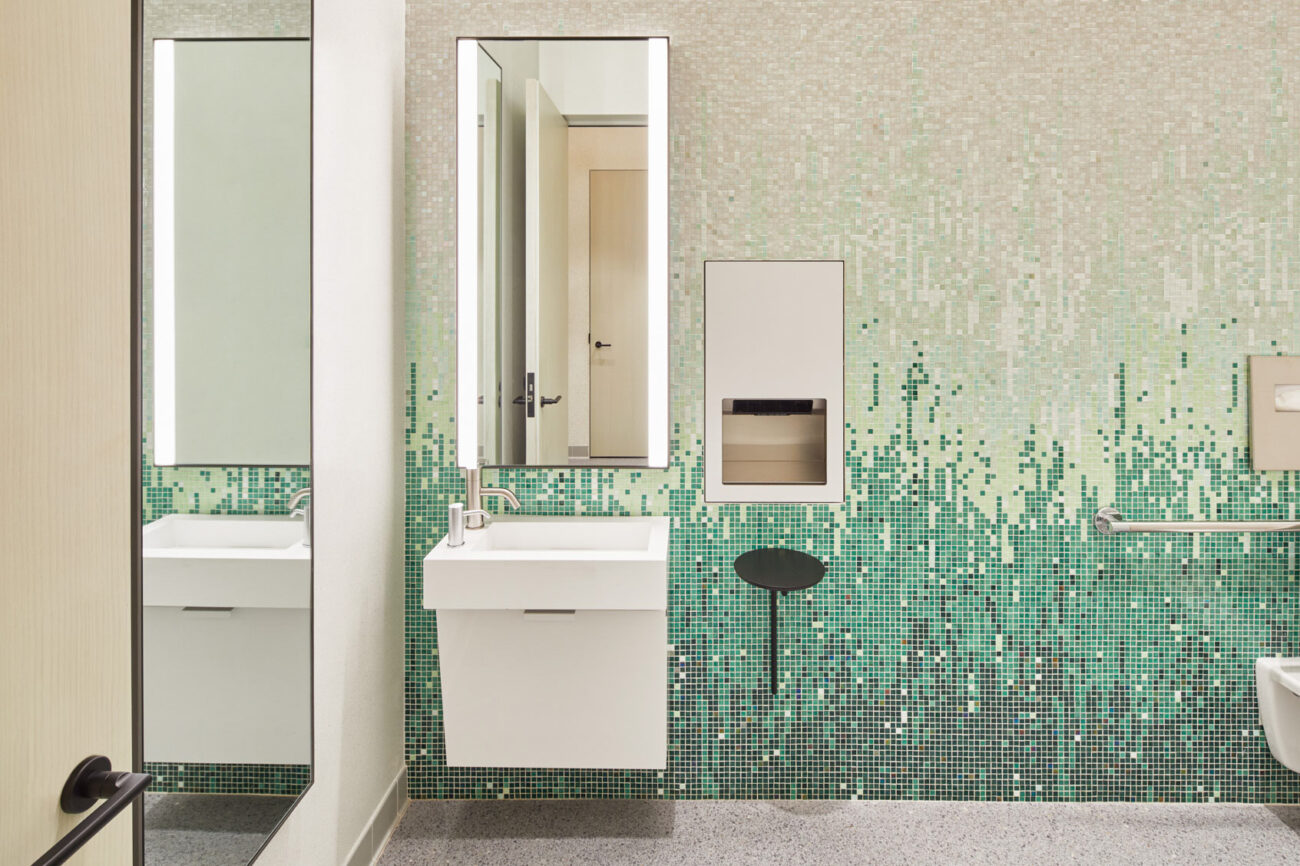
Horizontal grab bars should be mounted both beside and behind toilets to aid in transfers. Specifically, rear grab bars need to be at least 36 inches long to provide adequate support. This setup helps individuals maintain balance and independence while using the restroom facilities.7. Lack of Visual and Tactile Signage
Last but certainly not least, restroom signage should include both visual and tactile elements to accommodate all users, including those with visual impairments. Signs should feature raised characters and Braille to aid in identification, and they should be placed at specific heights and locations outside of restroom doors. Visual components should have high contrast for easy visibility, aiding in navigation and usage of restroom facilities.Solutions to Overcoming ADA Restroom Design Pitfalls
It may seem like all of this is a lot to tackle but experienced architects and building designers these days are well-versed in ADA restroom fixtures and what it takes to be ADA-compliant. Plus, ordering your commercial restroom products from a company such as The Splash Lab, in partnership with experienced designers, makes ADA compliance easy. That said, here are some simple ways to avoid design pitfalls right off the bat.- Collaborate with Knowledgeable Professionals: Work with architects and designers who specialize in ADA compliance to avoid common mistakes from the start.
- Utilize ADA-Compliant Products: Choose fixtures and accessories from reputable suppliers like The Splash Lab. We are known for our compliance with ADA standards.
- Continuous Education and Training: Stay updated with the latest ADA guidelines and training programs to keep your knowledge current and effective.
- Implement a Detailed Review Process: Before finalizing restroom designs, conduct thorough reviews to catch and correct any potential compliance issues.
- Seek Feedback from Users: Engage with individuals who use mobility aids to gain insights on practical improvements and user-friendly designs. Remember, creating an ADA-friendly restroom is about more than meeting requirements and checking some boxes.
- Regularly Consult ADA Resources: Make use of available ADA checklists and resources to guide every stage of your restroom design project.
