At The Splash Lab, we believe in a world that is accessible to everyone. We want to create spaces that everyone can enjoy, regardless of their mobility or physical limitations. That’s why we have made it our mission to make things a bit easier for architects, interior designers, and business owners to create amazing spaces that meet ADA requirements. And ADA restroom equipment? That just so happens to be our sweet spot.
In this article, we’ll give you the lay of the land for what you need to know about spacing requirements, ADA restroom equipment, and creating amazing public restroom spaces that are not just easy to access, but look great, too.
 The great thing here is that people appreciate larger spaces when it comes to restroom design, regardless of physical abilities. So, here’s what you need to know.
Introduction to ADA Restroom Equipment
Coming up with an ADA-compliant restroom design is about more than having a handicap-accessible stall. And if you don’t know what you’re doing, you can easily find yourself facing pitfalls that are far harder to correct after the fact than they are before you begin the construction or renovation process. Here’s what you need to understand. The Americans with Disabilities Act (ADA), passed in 1990, aims to protect the rights of individuals with disabilities by requiring public spaces to be accessible to all. This includes everything from entryways to restrooms. For restroom design, the ADA provides specific guidelines for accessible equipment and layout, such as the height of sinks and the width of stalls, to accommodate wheelchair users and others with mobility challenges. Compliance is not just about meeting regulations; it’s about creating inclusive spaces that allow everyone, regardless of physical ability, to use the facilities comfortably and safely. And the great news? You really can do this and still have a public restroom that is comfortable, modern, and convenient.Key ADA Restroom Equipment Requirements
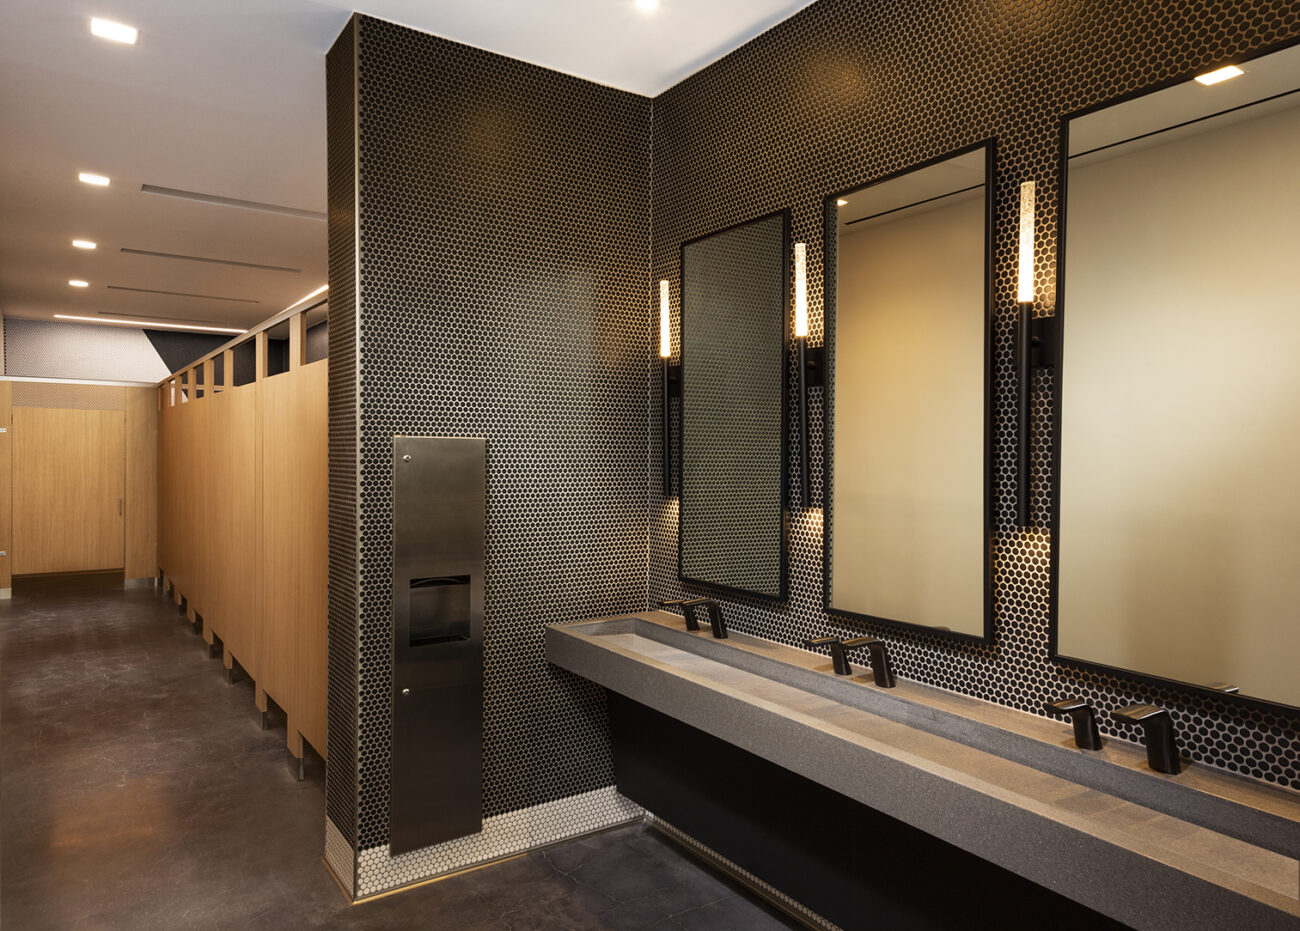
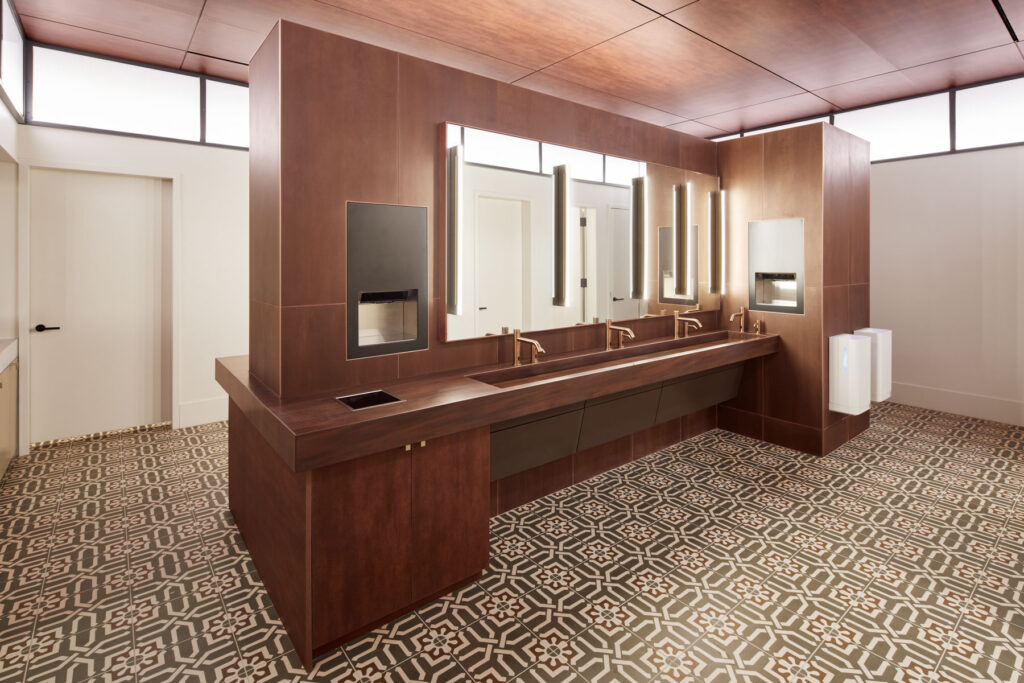
So, just what do you need to do to make sure of ADA compliance in restroom design? It’s really not all that complicated when you look at it. Creating an accessible restroom is all about grab bars, sinks that are at the proper height to be accessible to anyone and everyone, toilets with the appropriate amount of floor space for maneuverability, and some critical fixtures like hand dryers and soap dispensers. Here are the regulations that your public restroom needs to meet to stay compliant with the ADA.Grab Bars
Grab bars are a fundamental component of ADA restroom design. They must be securely installed at the correct heights and lengths to provide support and stability for users. For example, bars like those in The Splash Lab’s Radius collection come in lengths such as 18”, 24”, 36”, and 42”, offering flexibility for different restroom layouts. Horizontal bars are typically mounted 33-36 inches from the floor, with additional vertical bars near toilets and in showers for maximum support.Accessible Sinks
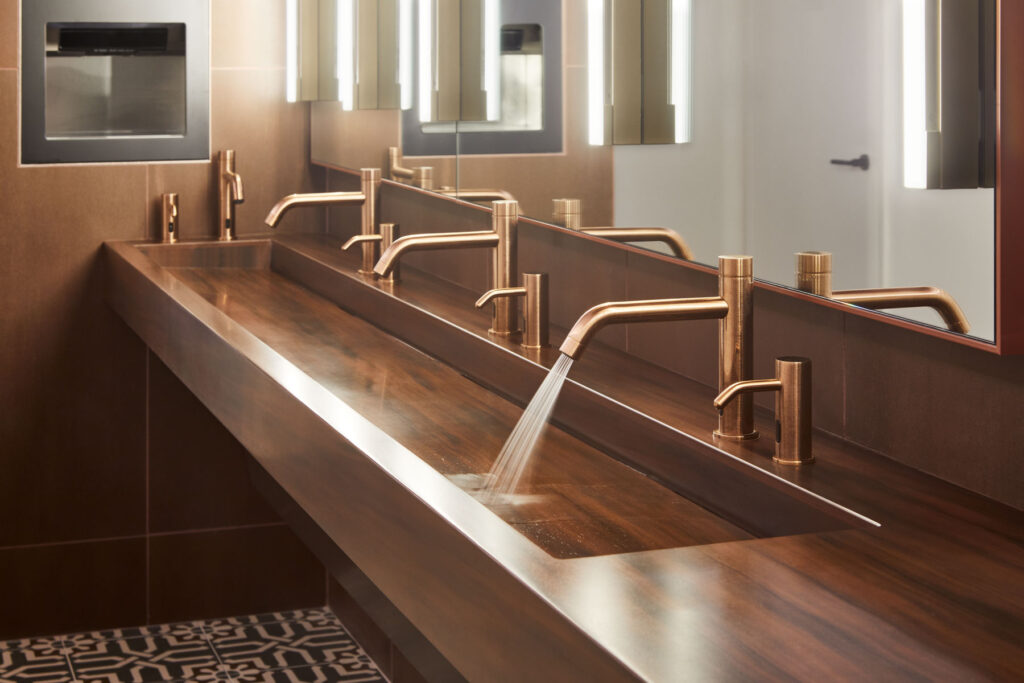
ADA-compliant sinks, such as those in The Splash Lab’s Monolith series, must be designed to allow easy access for wheelchair users. This includes a height no greater than 34 inches from the floor, with a minimum of 27 inches of knee clearance underneath. The space around the sink should be open and free of obstructions to allow smooth maneuverability. The design should also incorporate a faucet that can be operated without tight grasping or twisting of the wrist.Toilets
Toilets in ADA-compliant restrooms must adhere to specific height and clearance standards. The seat height should be between 17 and 19 inches from the floor to make it easier for individuals with mobility limitations to transfer from a wheelchair to the toilet. In addition, there must be at least 60 inches of clear floor space in front of the toilet to accommodate turning and positioning of a wheelchair or other mobility aids.Soap Dispensers and Hand Dryers
ADA guidelines also cover the placement of fixtures such as soap dispensers, hand dryers, and accessories like toilet paper holders. These should be mounted no higher than 48 inches from the floor and should be within reach of anyone using a wheelchair. All fixtures must be easy to operate with one hand, requiring minimal force. For example, The Splash Lab offers touch-free soap dispensers that align with these guidelines. After all, we’re all about making ADA restroom design as easy as possible.Spacing and Layout Requirements for ADA Restroom Compliance
Remember how we mentioned earlier that planning correctly upfront can help you prevent pitfalls later? It’s true. Unfortunately, many businesses designed public restrooms long before the ADA regulations went into effect. This often requires some costly and time-consuming retrofitting to prevent excluding those with mobility challenges. That’s why designing a new space can be such a simple process.
The great thing here is that people appreciate larger spaces when it comes to restroom design, regardless of physical abilities. So, here’s what you need to know.
Stall Dimensions and Clearance
For ADA compliance, restroom stalls must provide enough space for wheelchair users to comfortably enter, maneuver, and exit. The minimum width for an accessible stall is 60 inches, with a depth of at least 56 inches for wall-mounted toilets or 59 inches for floor-mounted toilets. Additionally, there should be adequate clearance around the door to prevent obstruction, making it easy for individuals to open and close the stall.Doorways and Entry Access
Entry doors to ADA-compliant restrooms must be wide enough to accommodate wheelchairs and mobility devices. A minimum width of 32 inches is required when the door is open at a 90-degree angle. Automatic or easy-to-operate door handles that do not require tight gripping or twisting are recommended. Restrooms should also have enough turning space—at least a 5-foot diameter—to allow wheelchairs to move around without barriers.Turning Radius
In ADA restrooms, a clear turning radius is necessary for wheelchair users to move around without difficulty. The space must allow for a full 180-degree turn, requiring a minimum circular space of 60 inches in diameter. This open area should be free of obstacles, providing easy access to sinks, toilets, and other restroom features without forcing users to back up or make sharp turns.Fixture Placement
All fixtures within an ADA restroom—such as sinks, hand dryers, and soap dispensers—must be strategically placed to avoid obstruction. This includes maintaining a clear path between the entryway and any essential restroom features, making sure users can reach each fixture without difficulty. Furthermore, items should be installed at heights that accommodate individuals using wheelchairs, following ADA guidelines for both reach and operation.
Best Practices for ADA Restroom Design
We’ve mentioned a few times in this article that planning ahead is super important to prioritize accessibility in ADA restroom design. And it’s true. With some forward thinking and the right ADA restroom equipment, architects can create the right space and interior designers can bring those spaces to life, creating beautiful bathrooms that work for everyone. That said, if you come away with just one insight from this article, let it be this list of best practices.- Prioritize User-Friendly ADA Restroom Equipment: In high-traffic restrooms, it's important to create a design that is intuitive and easy for everyone to use. Incorporating user-friendly ADA restroom equipment, such as grab bars and accessible sinks, helps meet compliance while prioritizing that all users can get around the space without difficulty.
- Balance Restroom Appearance vs. Function: When designing ADA-compliant restrooms, it's possible to balance style with functionality. The Splash Lab’s modular sink systems, for example, offer a sleek design without sacrificing accessibility. This allows architects and designers to create spaces that are both visually appealing and functional for all users.
- Incorporate Sustainable Restroom Design: Consider using sustainable materials and fixtures that contribute to an eco-friendly restroom. Features like water-saving faucets and efficient hand dryers can help lower the environmental impact while maintaining compliance with ADA standards. A sustainable restroom design benefits both users and the environment.
- Leverage Touch-Free Technology for Sustainability: Integrating touch-free technology, such as automatic soap dispensers and hand dryers, can support both accessibility and sustainability goals. These features reduce physical contact, promoting hygiene while minimizing water and energy use, making it a smart choice for high-traffic public restrooms.
- Plan Ahead for Space and Accessibility: Always design with future accessibility needs in mind. Consider the turning radii, entry access, and stall dimensions to create a layout that is comfortable and practical for all users. Early planning can prevent costly changes down the line while helping to create a truly accessible space.